Help
Once you logged into the one2one scheduler system by using your "Login E-mail" and "Access code", you will be presented with "Schedule Your Meetings" page by default. You can schedule your meetings in two ways:
a)Select & Schedule: On “Schedule Your Meetings” page you will be shown a table with 5 columns namely “Time”, “Select Company”, “Location”, “Status” and “Action”. Under “Select Company” column you will find list of the “Country: Company name, Participant(s) name” sorted by Country that are available to meet with you during the selected “Time slot”. Just select the appropriate company in front of the time slot and click on “Schedule Your Meetings” button at the bottom to schedule your meeting. Please note it is not necessary to select company to meet in front of every time slot before you click on “Schedule Your Meetings” at the bottom, you can do the same in parts also. For better understanding please refer to the screenshot below:
b)Search & Schedule: Just select the country and click on “Find” button to show all the companies / participants taking part from the selected country along with available time slots during which meetings can be arranged. Just select the appropriate “time slot” in front of the company / participant with whom you desire to meet and click on “Schedule Your Meetings” button at the bottom to schedule your meeting. For better understanding please refer to the screenshot below:
By default meetings are confirmed automatically while it is scheduled, until n unless either party involved in a meeting “cancel's” it. This implies that there is no requirement to confirm the meeting and
all the delegates involve in the meeting will receive the “meeting set notification email” once the meeting is scheduled.
If you are not available for one2one meeting during certain meeting time slot, it is advisable that you Block that "Time slot(s)". This way you can avoid other companies to schedule meeting with you during those "Time slot(s)". Just select the checkboxes in front of the meeting time slot(s) that you would like to block and click on the "Block Time Slot(s)" button at the bottom of the Schedule Your Meetings page. For better understanding please refer to the screenshot below:
No, system does not allow the duplicate meetings, i.e. you cannot schedule meeting with the same delegate over 2 or more than 2 meeting time slots.
Yes, a click on "Participants List" option will display a page on which you can see the list of all the companies participating in the event.
A click on "Full details" in front of a company will show all the participants that will attend the event from that company.
You should wait for the scheduler to close for meetings. Also keep watch on your email inbox and login into the system from time to time to check if any of the delegates with whom you have scheduled meetings has cancelled the meeting, so that you can re-schedule the meeting with other delegate if required.
Once the scheduler is closed for meetings only "Reports" option will be accessible and you can click on the "PDF icon" to download the meeting report in PDF format. Below screenshot is showing the report page.
Your One2One Meeting Report will look as below in the PDF format:
"My Profile" option will show your company details and also the details of all the delegates of your company participating in the event. Below, please check the screenshot of "My Profile" page:
It is advisable that you should keep your company profile and delegates information updated because other companies / delegates participating in the conference / event might check your company / delegate details under "Participants List" before making decision to schedule meeting.

In order to add new company, please go to "Company list" and click on "Add new company / Import companies" link. This will give you two options, either add new company & participant details one by one or you can import company using .csv / .xls file, a sample . csv file can be downloaded by the click on "Download Sample" link. Please note that system does not allow two companies with same name or e-mail address.

In order to manage companies, please visit "Company list" page and just click on the "header column" to sort the list by that column, either in ascending or descending order. It is also easy to search / filter companies.
You can also select the checkbox(s) in front of the companies that you would like to delete and click on "Delete" link on the top. This will cancel all the meetings already scheduled by all the delegates of that company.
In order to update the details of the company and participants, please click on "Edit icon" in front of the appropriate company.
To update Company Details, please follow below mentioned steps:
Step 1: A click on "My Profile" option will display a page with your company and participant details.
Step 2: Now click on "Update Company Details" button will show the form as shown below. Please fill up the appropriate information and click on "Update" button will update your company profile.
If you would like to go to "My Profile" page without updating any information, then please use Back button.
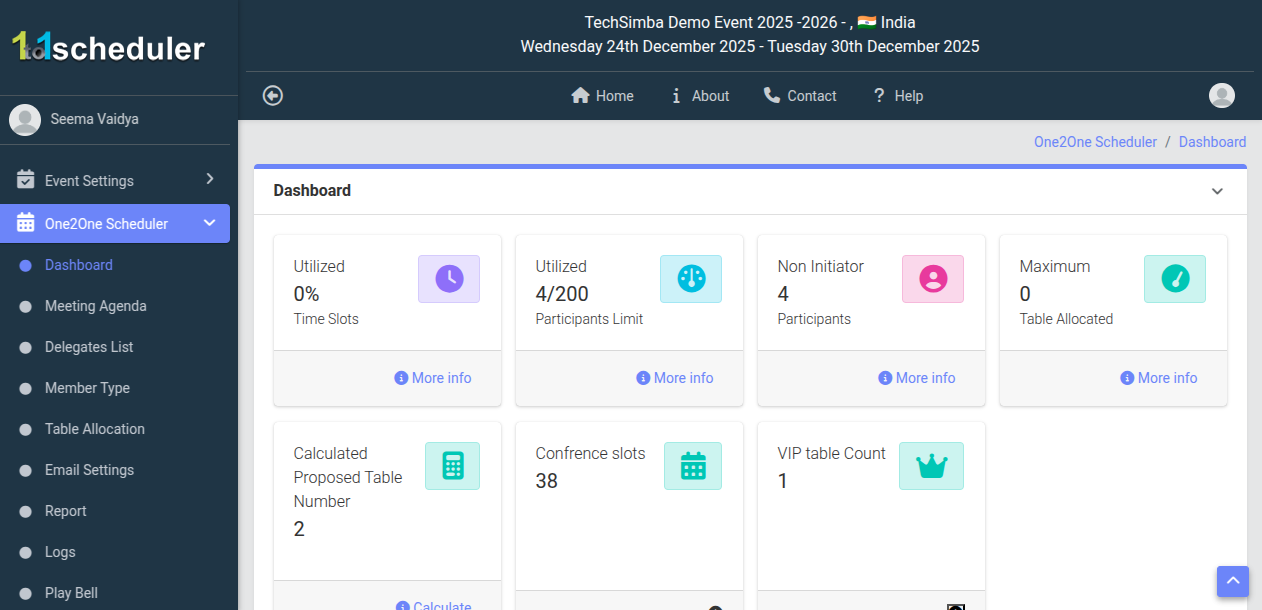
- Dashboard : Then You will be redirect to the dashboard where you can access all the main feature of the system.
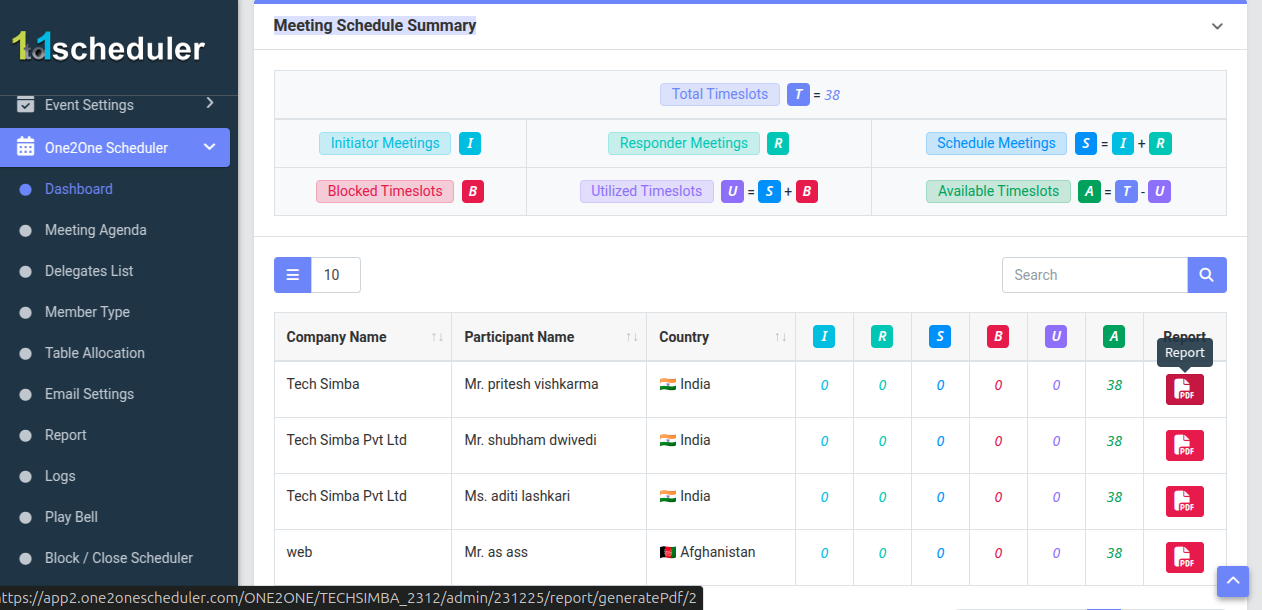
- Meeting Schedule Summary : This section gives a detailed breakdown of how meetings are progressing within the system by categorizing them into initiator meetings, responder meetings, scheduled meetings, blocked timeslots, utilized timeslots, and available timeslots. It visually represents the flow of meeting activity, indicating which slots are booked, which are still free, and how participants are interacting through requests and confirmations, making it easier to track and manage scheduling efficiency. Additionally, it allows users to generate company-wise reports directly from the report column in the table, providing a quick way to view or export individual company meeting details.
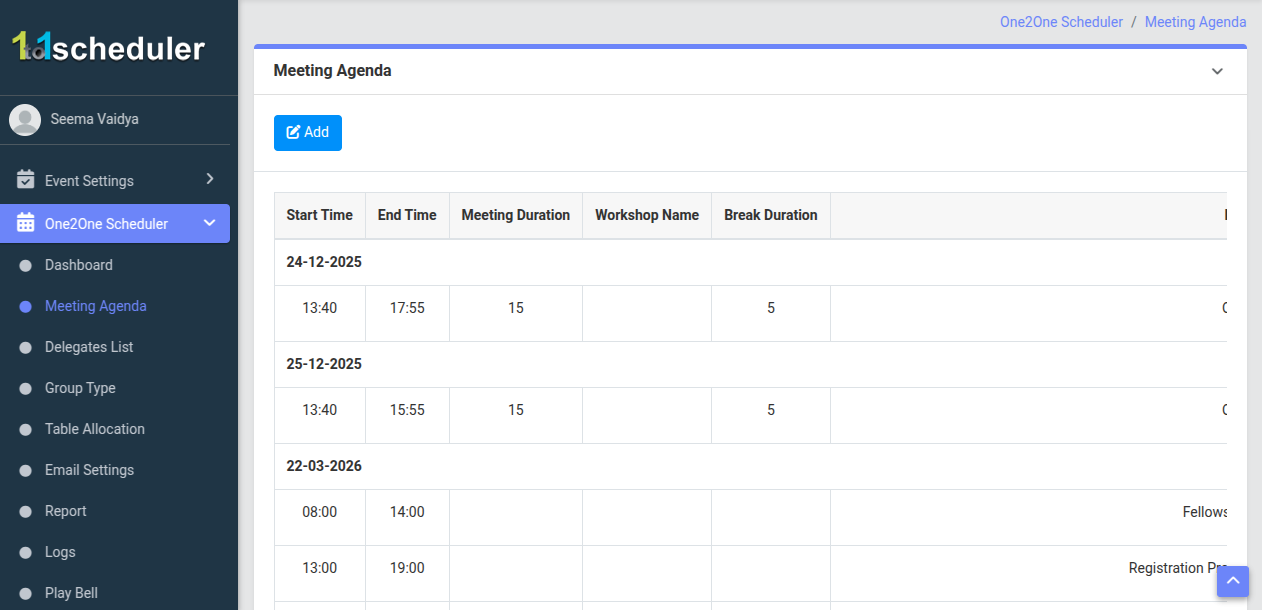
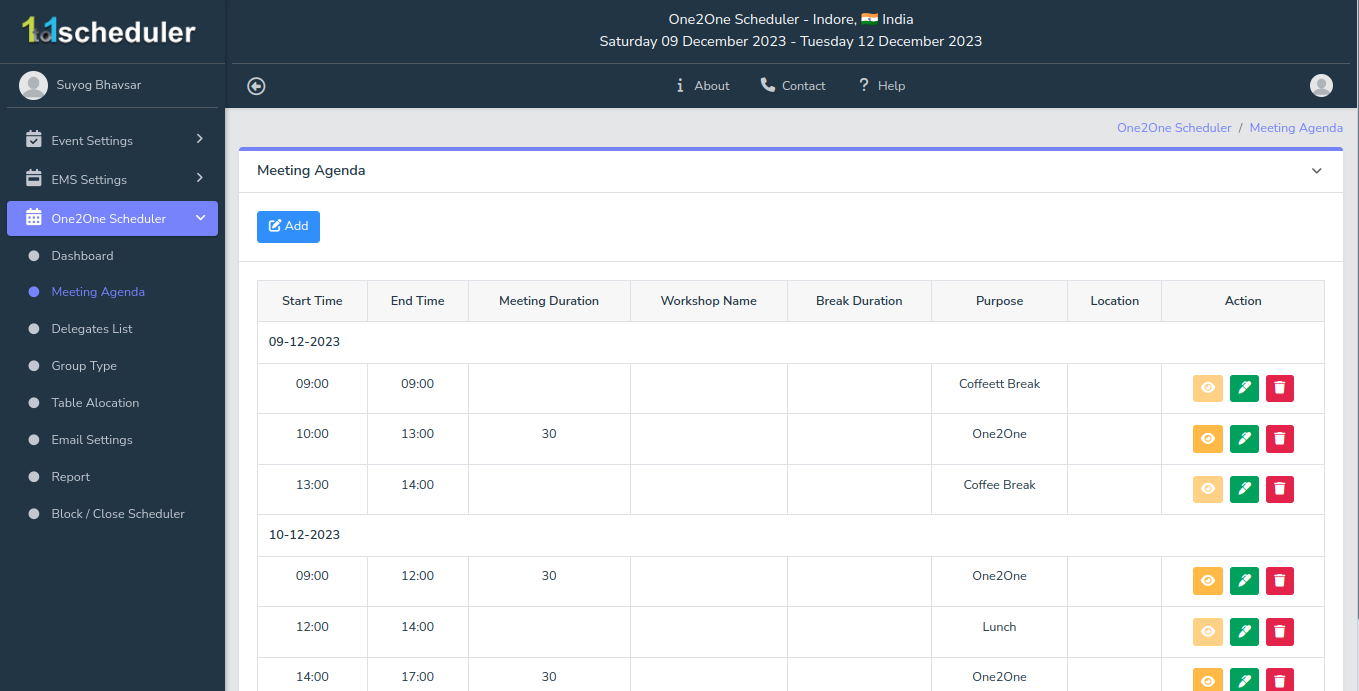
- Meeting Agenda: This section is used to set the schedule for one-to-one meetings by defining dates, start and end times, meeting duration, and break time. It controls when meetings will happen and how the time slots are created in the system.
- Add Button : The “Add” button is used to create a new meeting agenda by entering a new date, time range, meeting duration, and break duration, which will then generate new time slots for scheduling meetings.
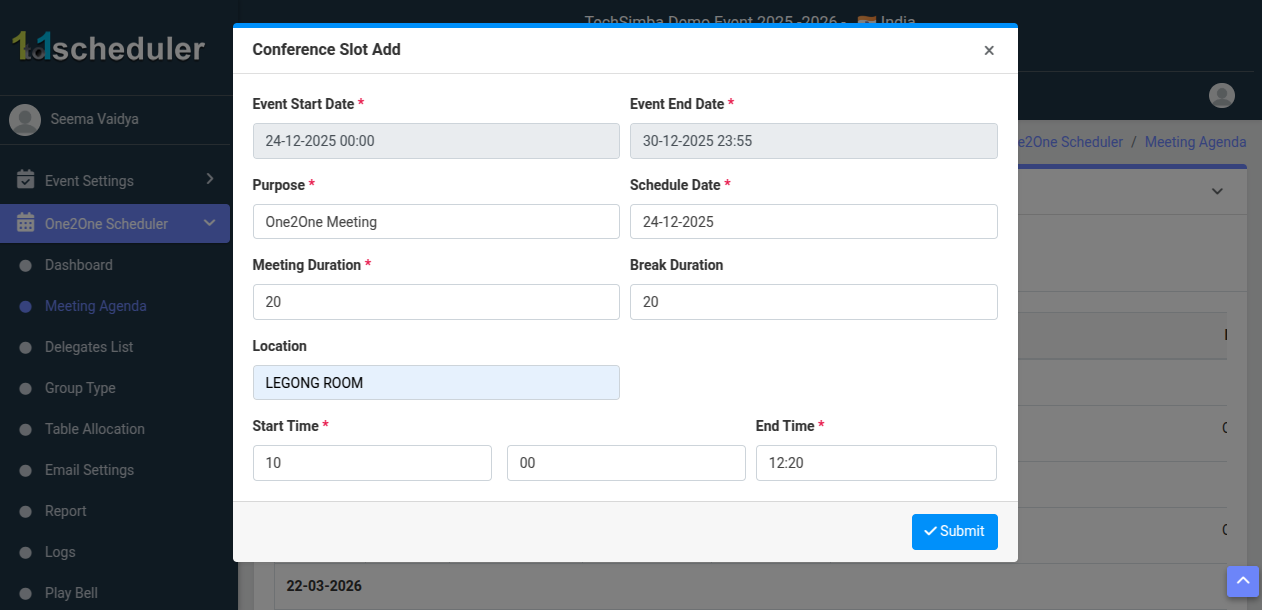
- Form : This form is used to create a new meeting agenda where you can fill in details such as meeting date, start and end time, meeting duration, break duration, and location (or workshop name). Based on this information, the system generates time slots and defines where the meetings will take place.
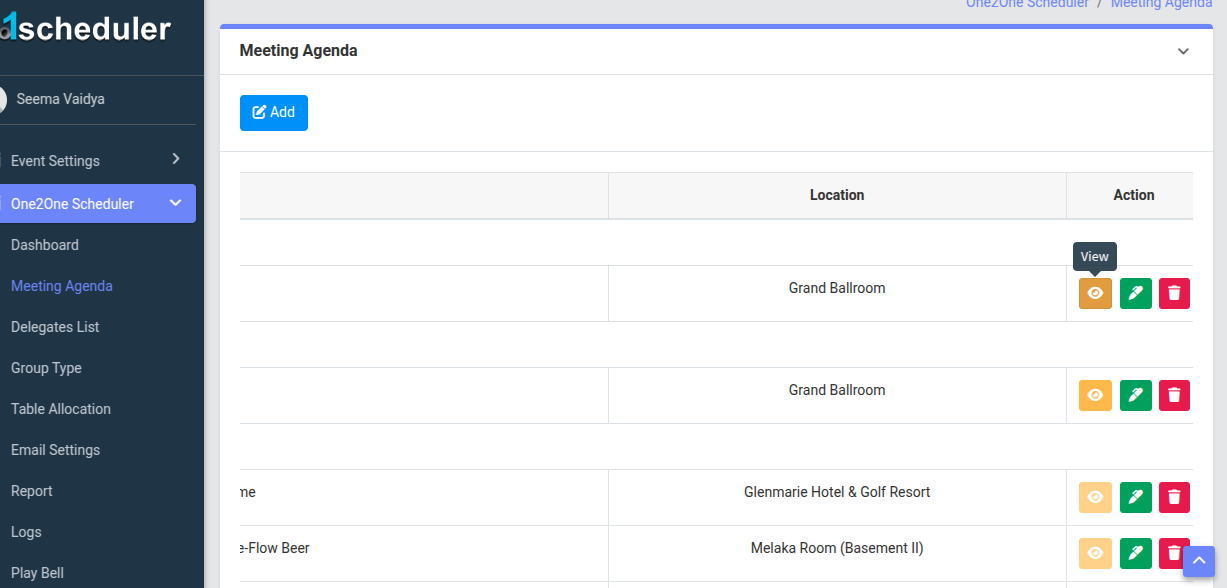
- Action Button : On the right side, there are three action buttons for each agenda entry. The View button allows you to see the complete details of the meeting agenda. The Edit button is used to modify the existing agenda information such as time, duration, or location. The Delete button removes the selected agenda from the system, which will also remove its associated time slots.

- View Button : This form allows you to view all the generated meeting time slots based on the selected agenda. It displays the complete schedule, including all individual meeting timings created from the defined start time, end time, duration, and breaks, so you can easily see how the entire meeting timeline is structured.
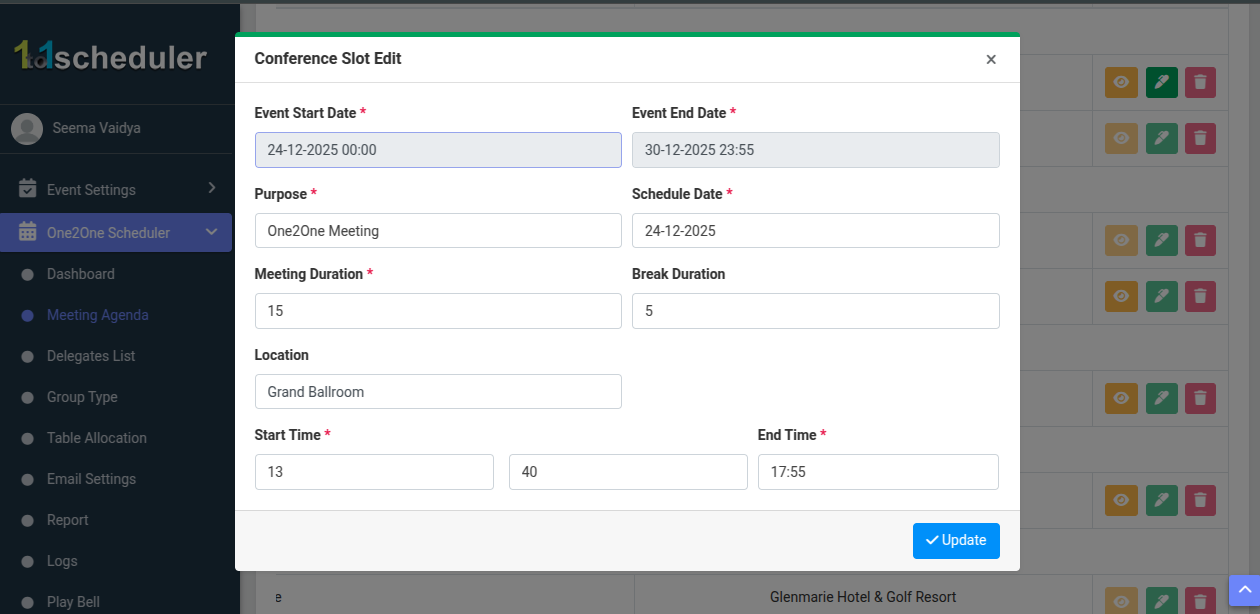
- Edit Button : This form allows you to update the existing meeting agenda details such as date, start and end time, meeting duration, break duration, and location. Any changes made here will update the schedule and regenerate the meeting time slots accordingly.
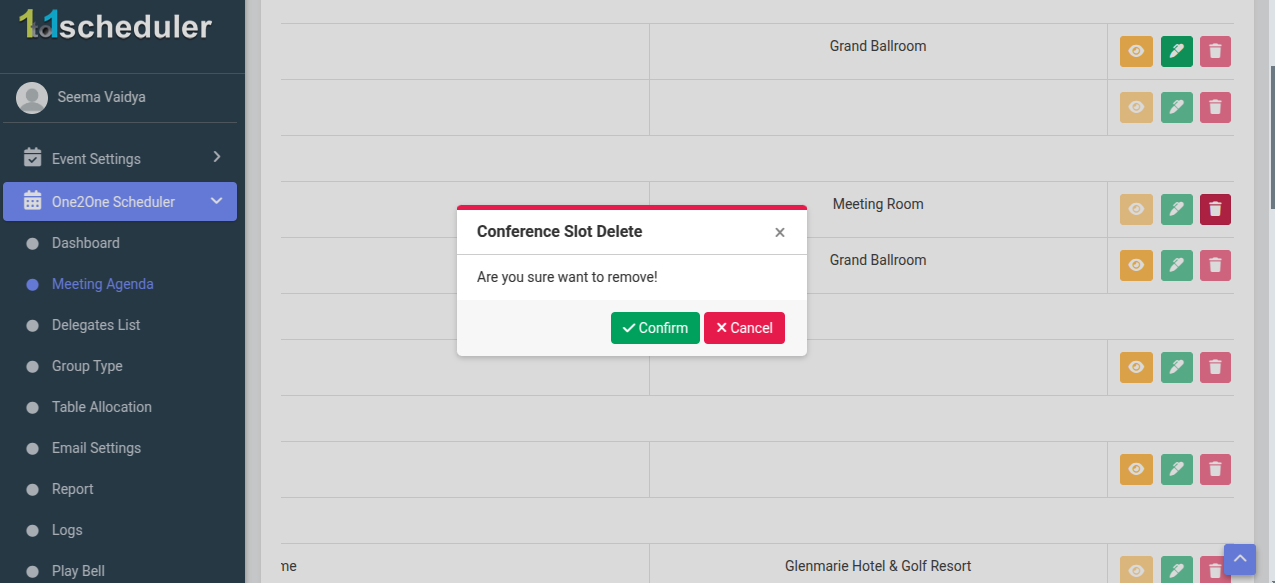
- Delete Button : This button is used to remove a meeting agenda or conference slot from the system. When clicked, a confirmation popup appears asking “Are you sure want to remove!”. After confirming, the selected meeting slot along with its associated time slots will be permanently deleted from the schedule.
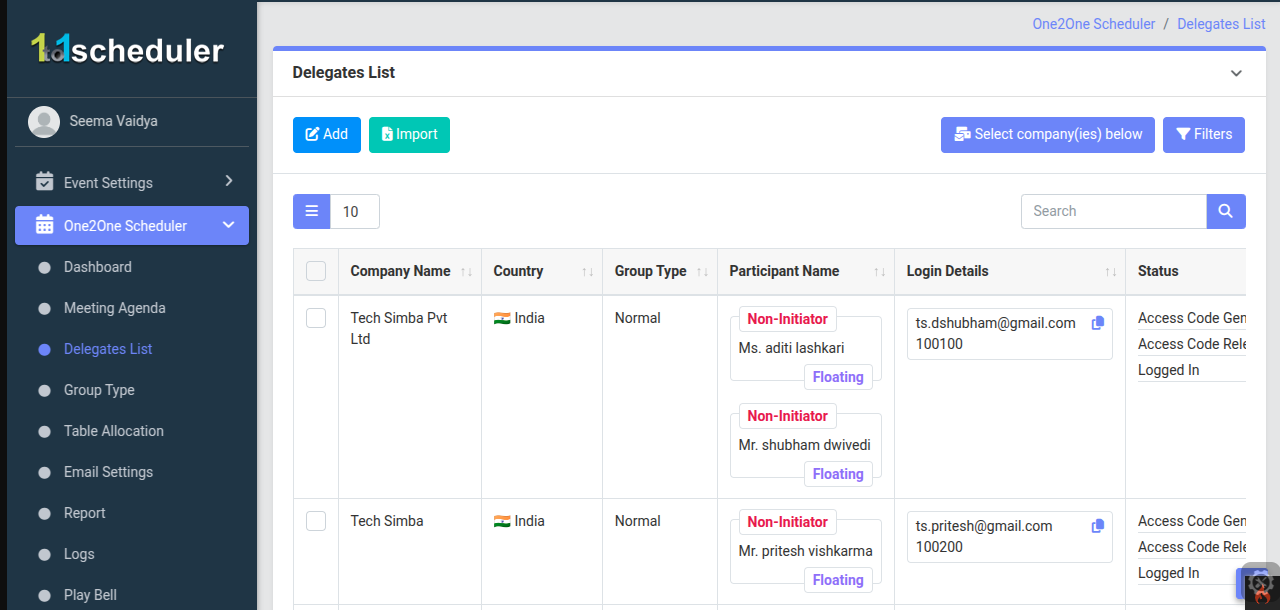
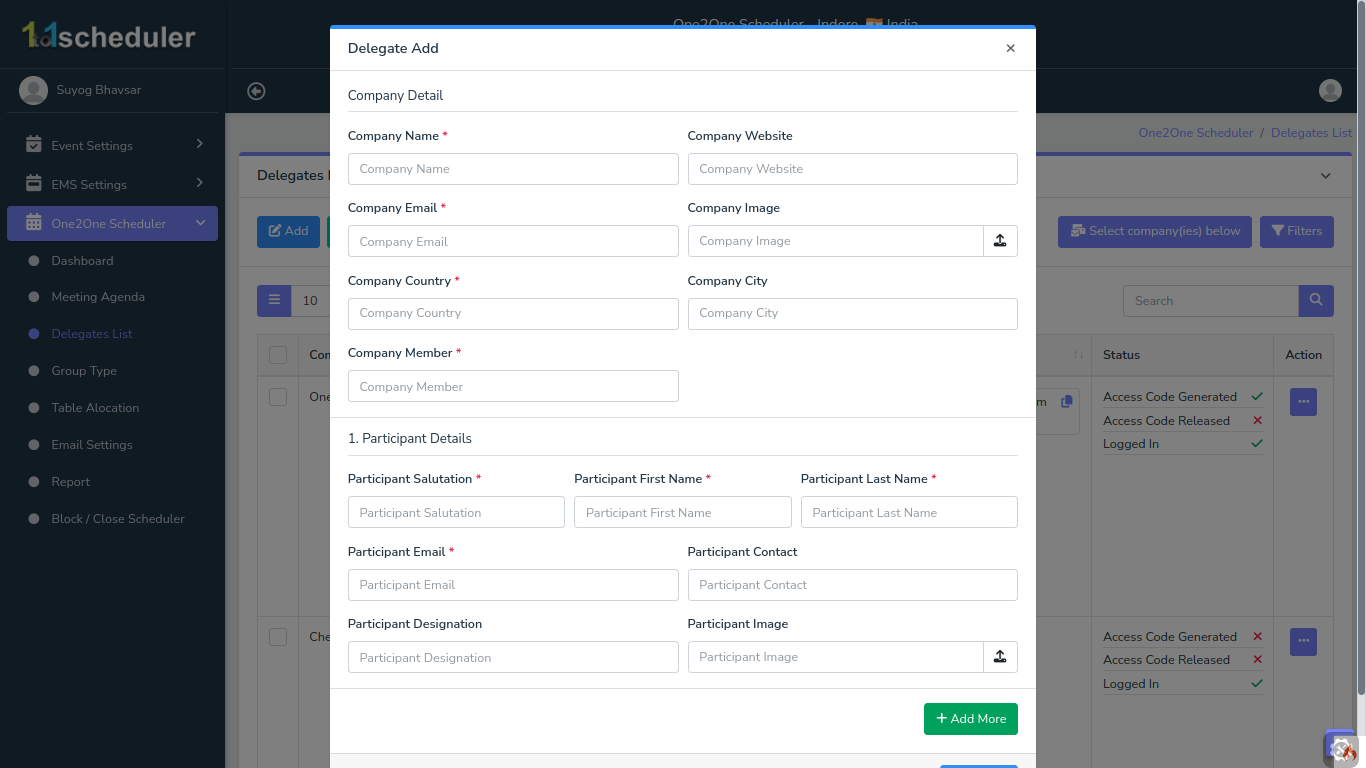
- Delegate List : Now we are on the Delegate List screen, where you can view and manage all the delegates.
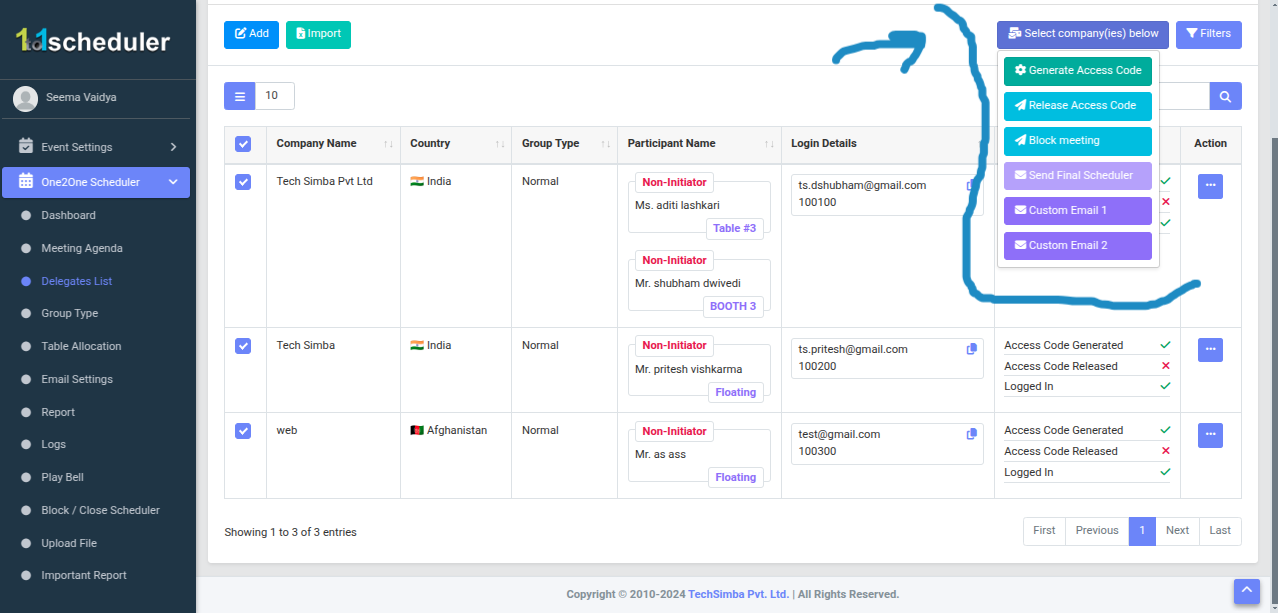
- Bulk Action Buttons (Right Side) : Using the multiselect option, the admin can select multiple delegate and perform action on them at the same time.
- Action Buttons (Right Side) :Using the three-dot button, the admin can perform multiple actions like generating access codes, sending emails, etc.
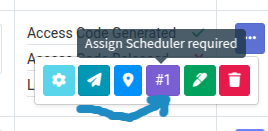
- Button (Purple Button): From this purple button.

- Shedualar : Here, you can select participant, group them if needed, or keep them separate, and then assign a table number.
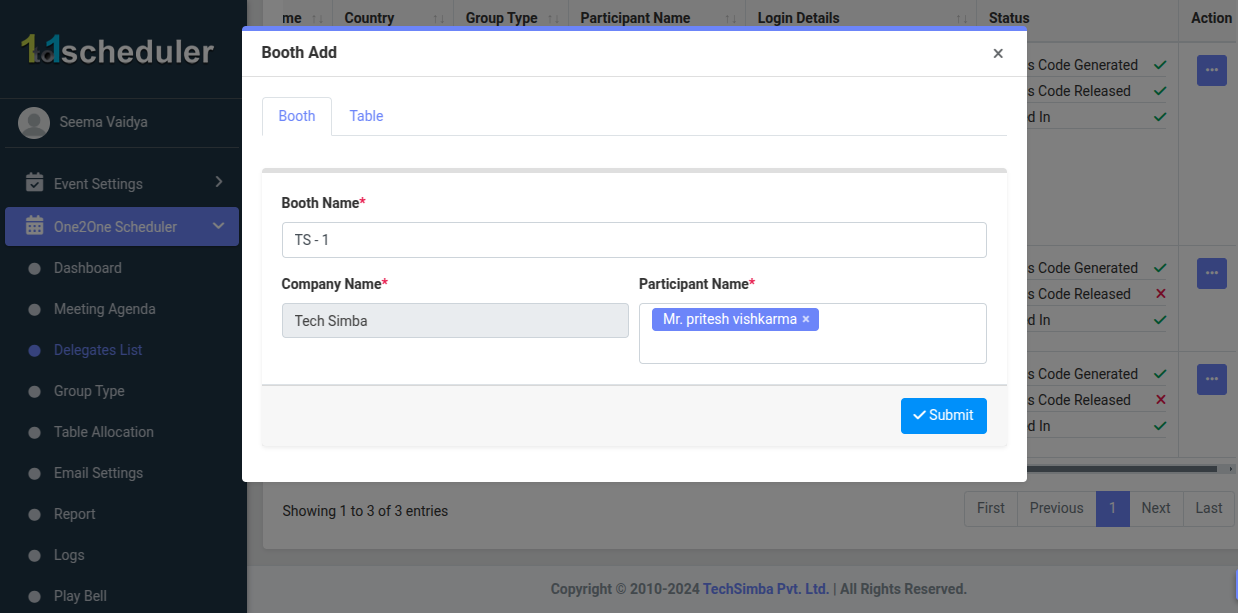
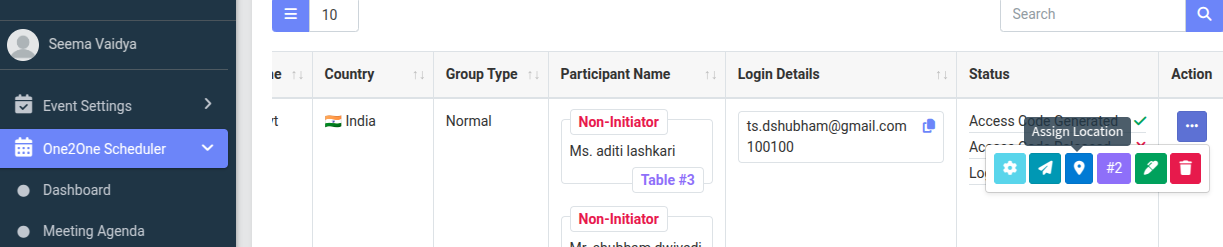
- Booth : To assign a booth or table location to the delegate, click on the Assign Location button.
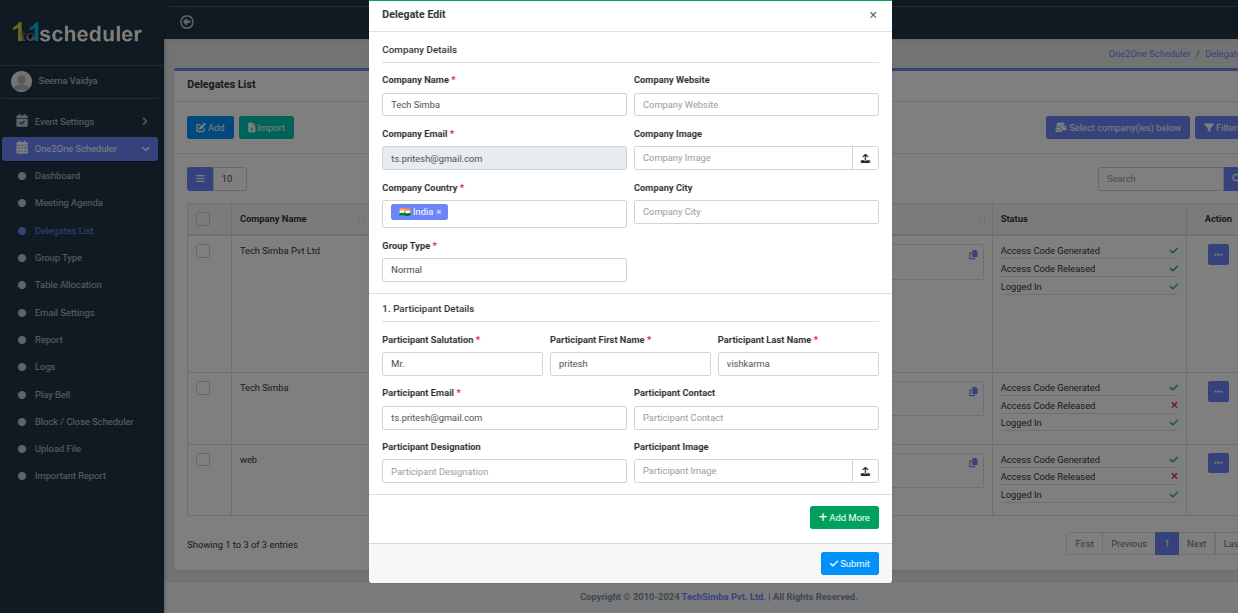
- Edit Form : This Delegate Edit form allow the admin to update the company details and participant information, and then submit the change.
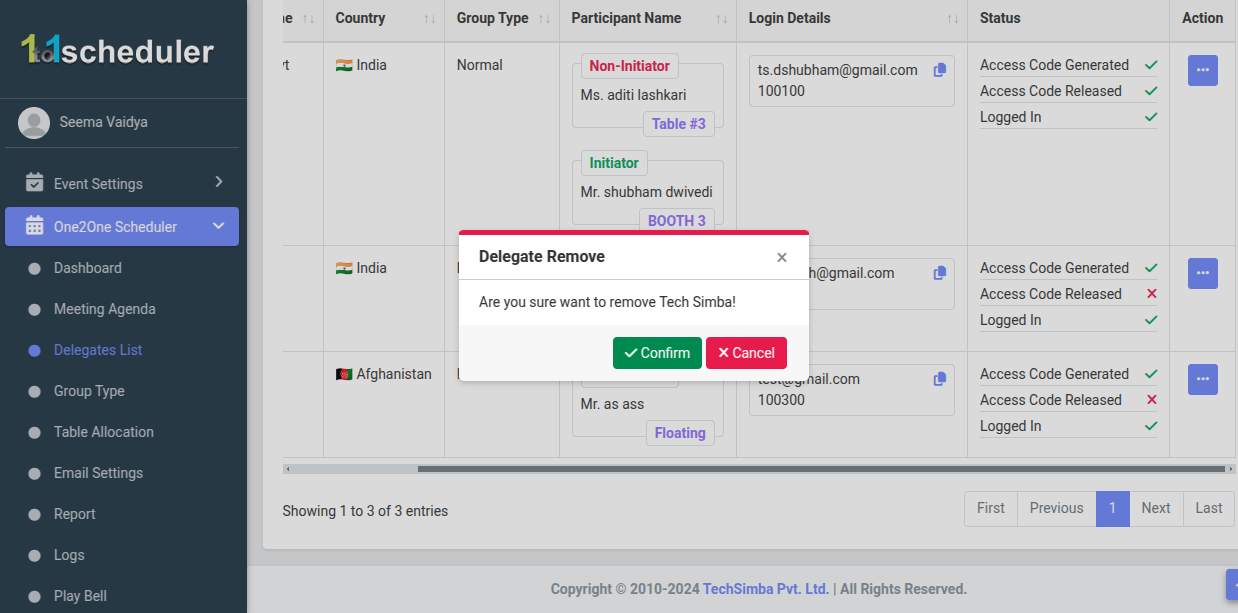
- Delete Button : To remove this delegate from the system , click on the delete button.
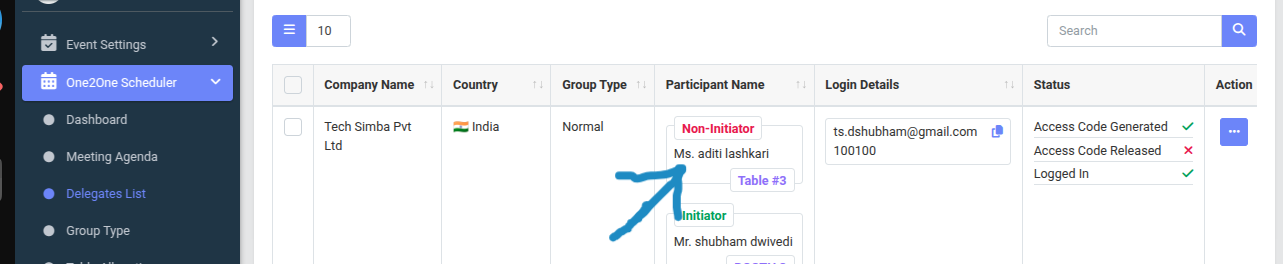
- Participant Login (Direct Access): In the Delegates List, you can directly log in as a participant by simply clicking on the participant’s name. This will automatically log you into that member’s account, allowing you to view and manage their meeting schedule and activities from their perspective.
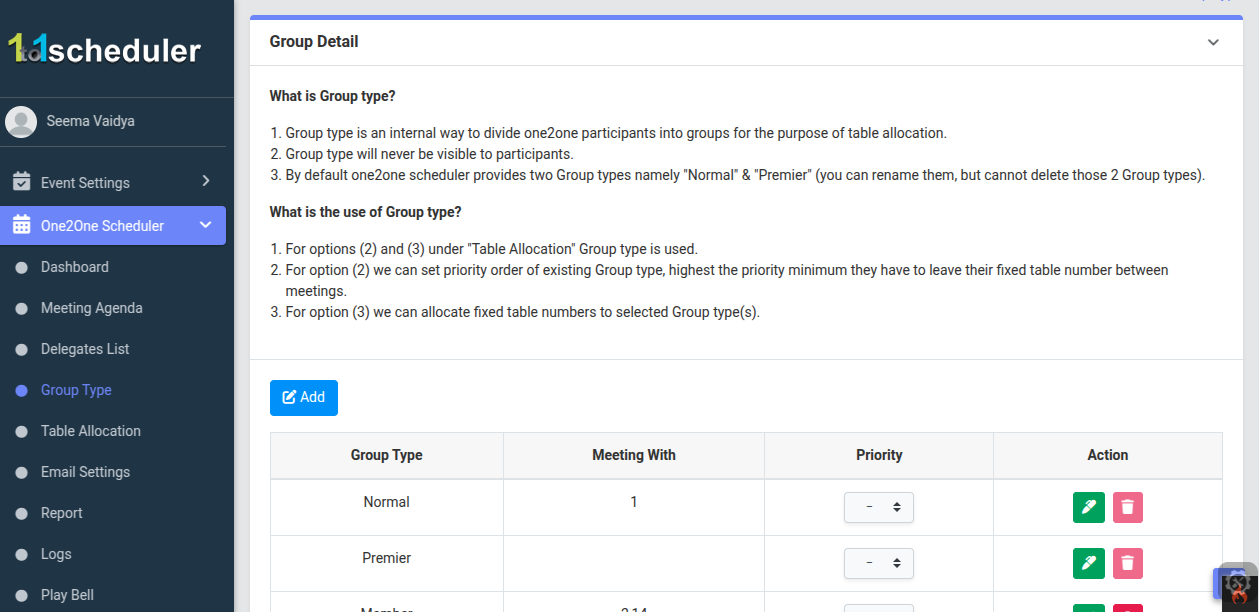
- Group Type Section: This allow the admin to create a new group type to better organize participant and manage meeting allocation.
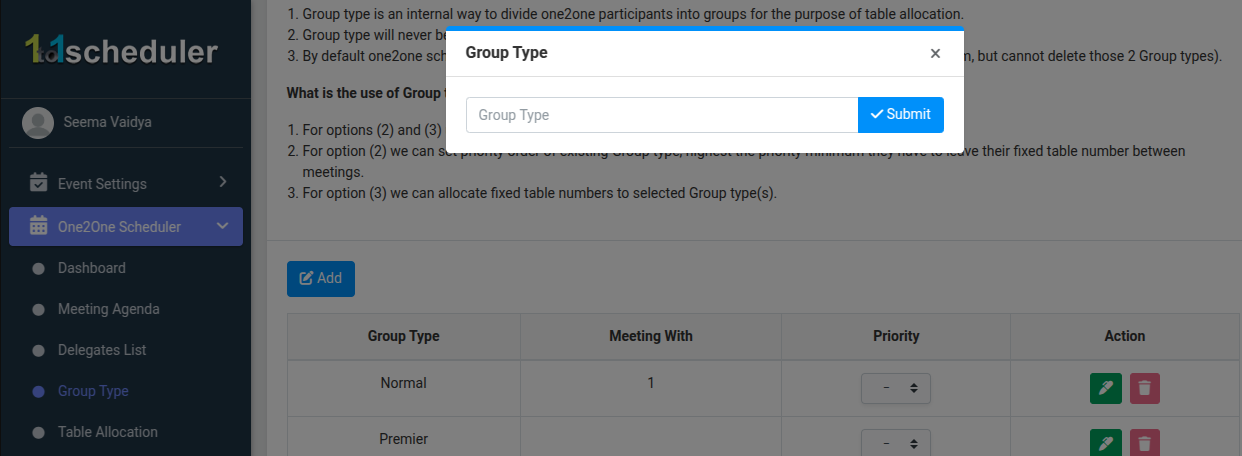
- Add Button: From here admin can add group type.
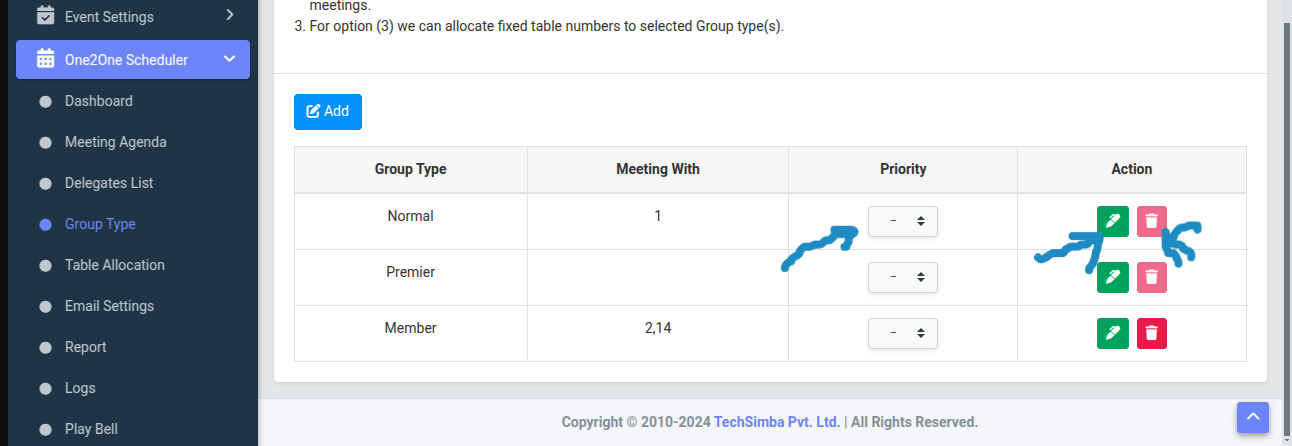
- priority Set : In the priority column of the table, the admin can set the priority of the group type.
- Update & delete button : From here, the admin can update the group type using the edit button, and can also delete the group type using the red button.
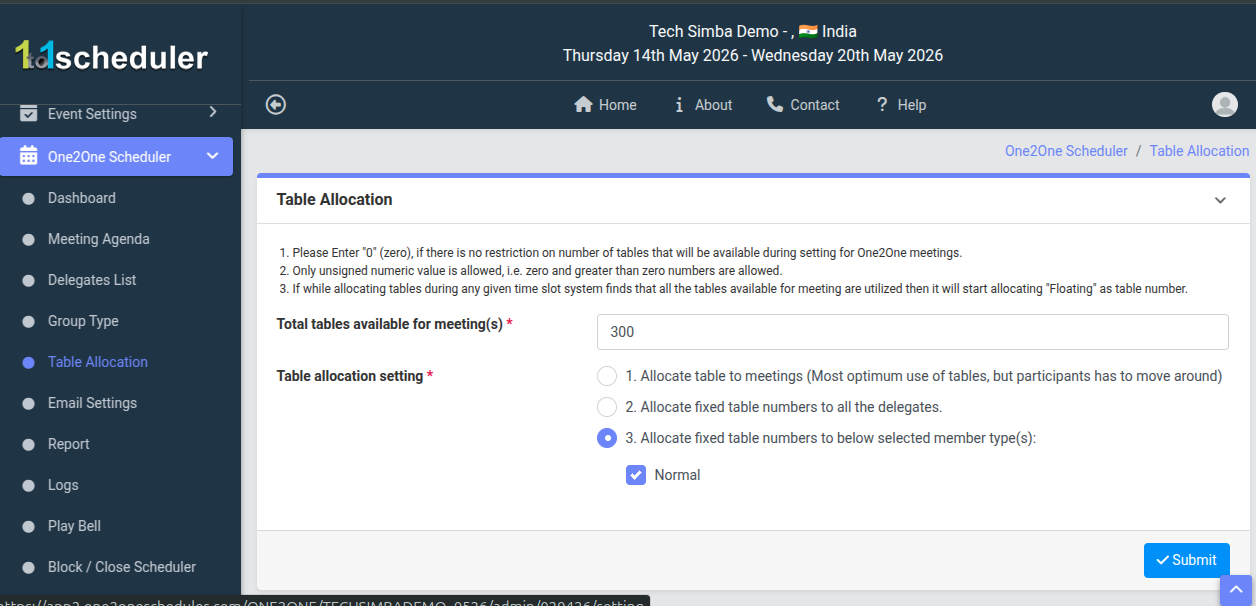
- Table Allocation Section: This section allows the admin to assign tables for meetings based on requirements. The admin can set the total number of tables and choose how tables are allocated—either dynamically for each meeting or fixed for specific participants/groups. This helps manage seating and meeting flow according to the client’s needs.
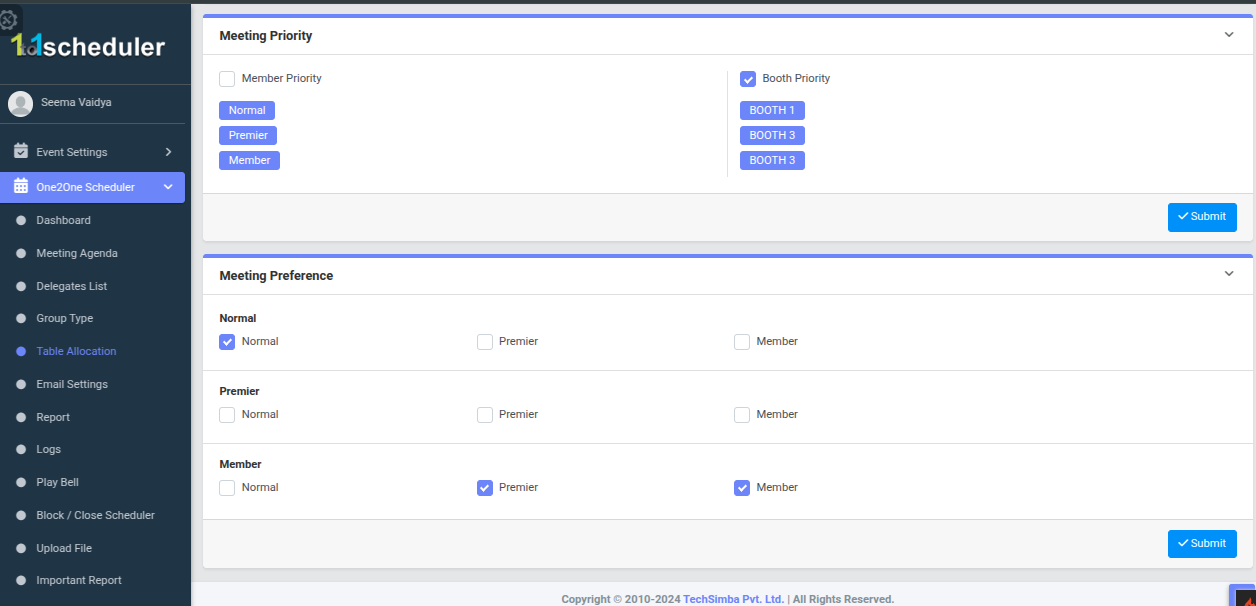
- Meeting Priority: This section allows the admin to set priority for meetings. The admin can decide whether priority should be given based on member type (like Normal, Premier, Member) or booth/table, ensuring important participants or booths get preference in scheduling.
- Meeting Preference: This section defines who can meet with whom. The admin can control which group types are allowed to have meetings with each other.
- For example:
- If Normal is checked with Premier and Member, then Normal can meet with both.
- If not selected, those meetings will not be allowed.
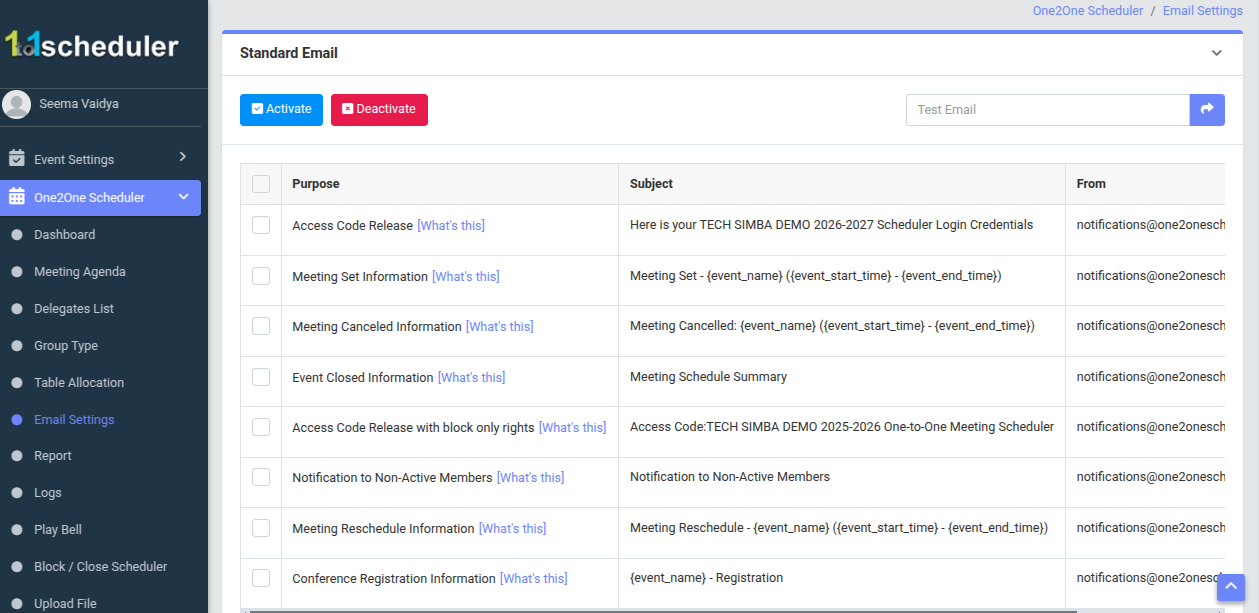
- Standard Email Section : This section allows the admin to manage system emails. The admin can select specific emails using the checkboxes and then activate or deactivate them using the buttons.
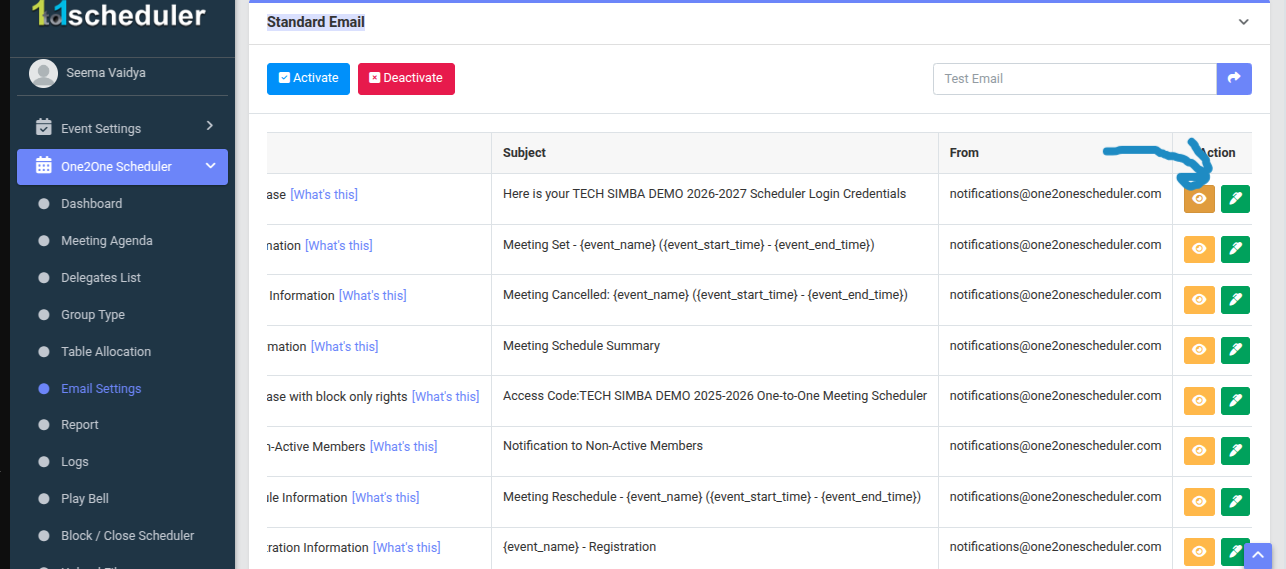
- Action Button: This section allows the admin to manage system emails. The admin can select specific emails using the checkboxes and then activate or deactivate them using the buttons.
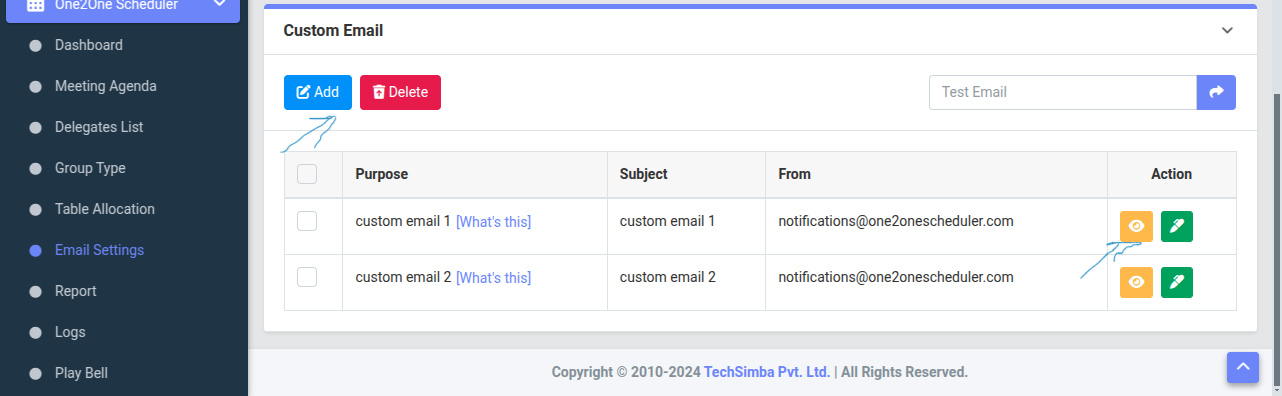
- Custom Email: In Custom Email, there is an Add button from which you can add a new template. In the table, there is an Action column from where you can update or View the email template if needed.
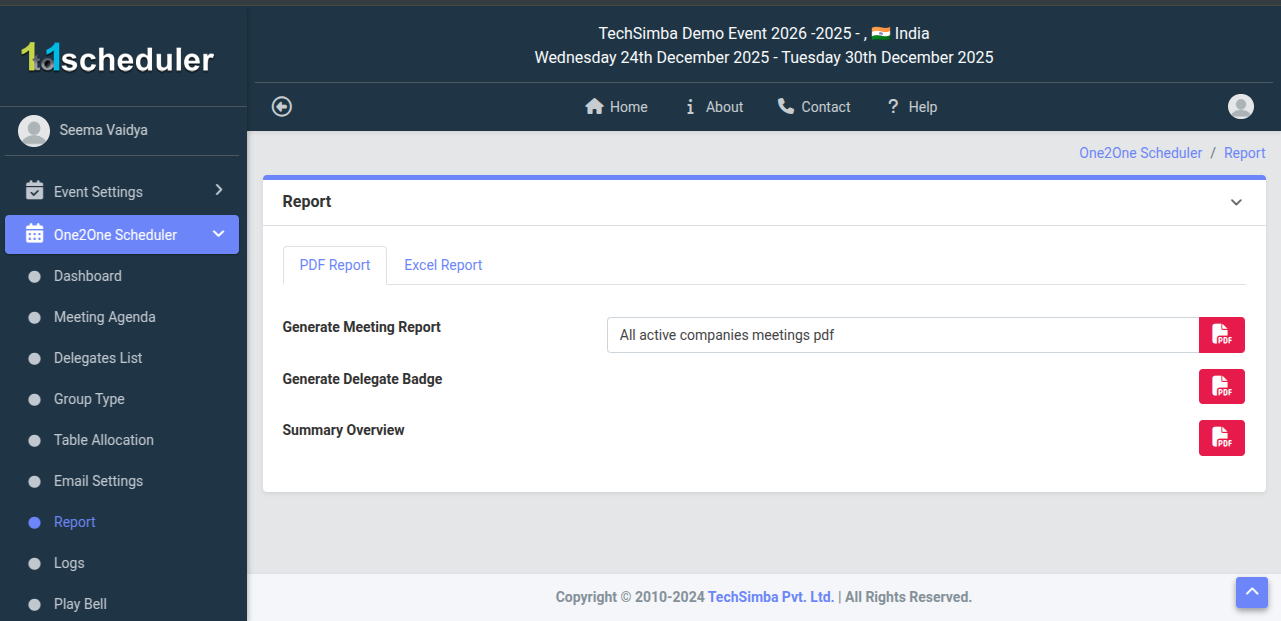
- Report : Admin can quickly generate PDFs reports for meetings delegate, badges, and summaries. .
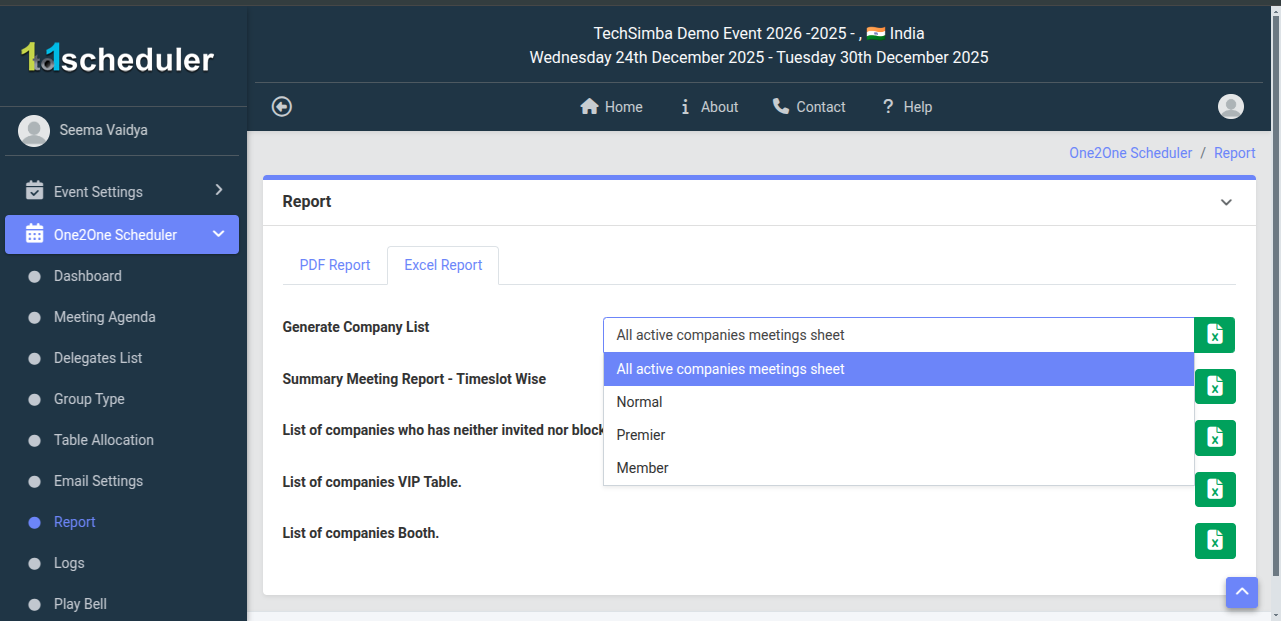
- Report Excel: This is the Report page, where admins can quickly generate excel reports for company lists, meeting summaries, VIP Tables, and booth details-enabling easy data export and analysis.
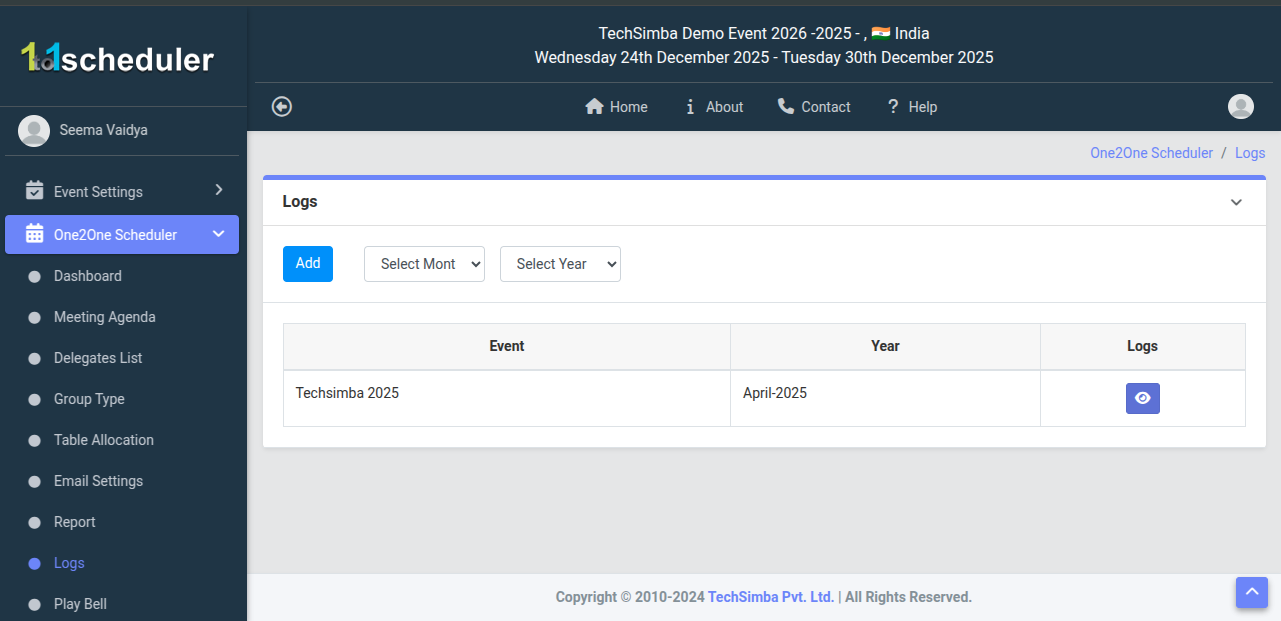
- Logs : From this section, you can add old events and data reports.
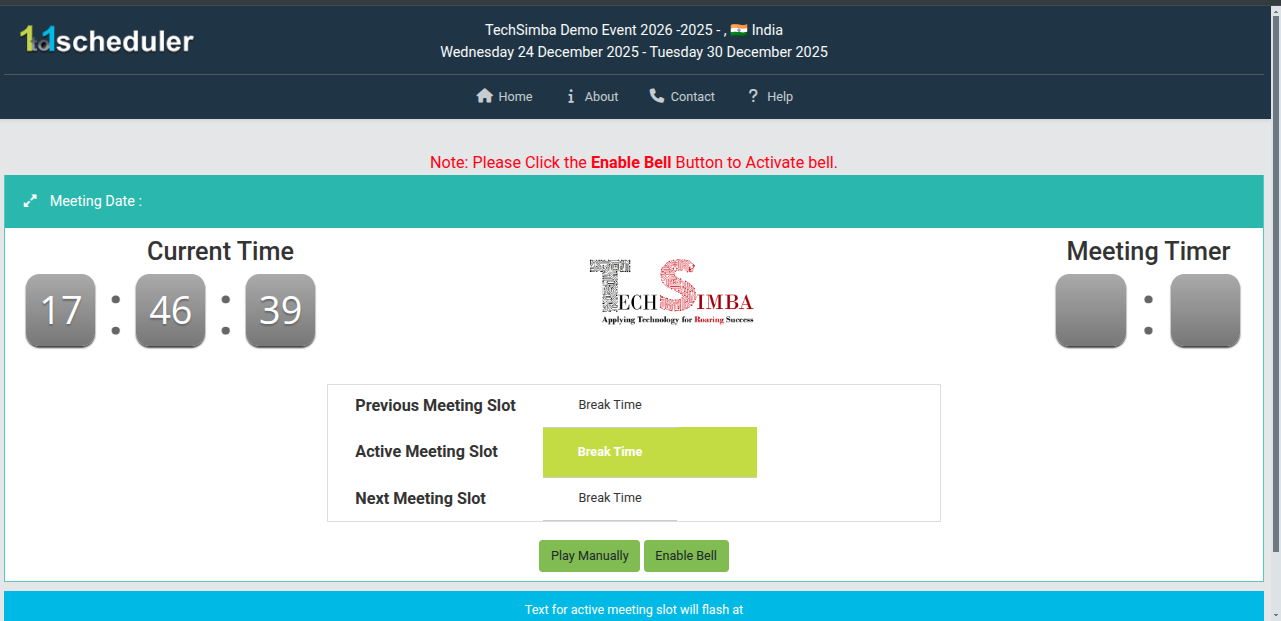
- Play Bell : In Play Bell, staff can track the live schedule and trigger bell sound for start, end, or breaks.
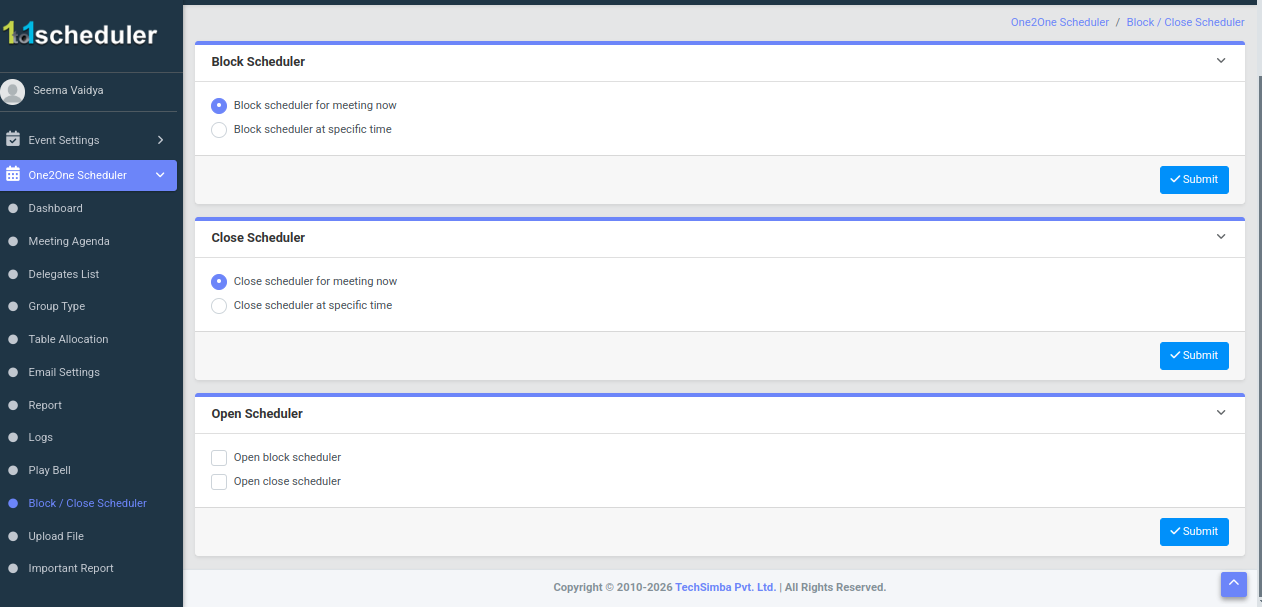
- Black/close : This is the Block/Close Scheduler page, where admin can instantly or scheduler block bookings, close the scheduler, or reopen it--by selecting now or a specific date/time and submitting.
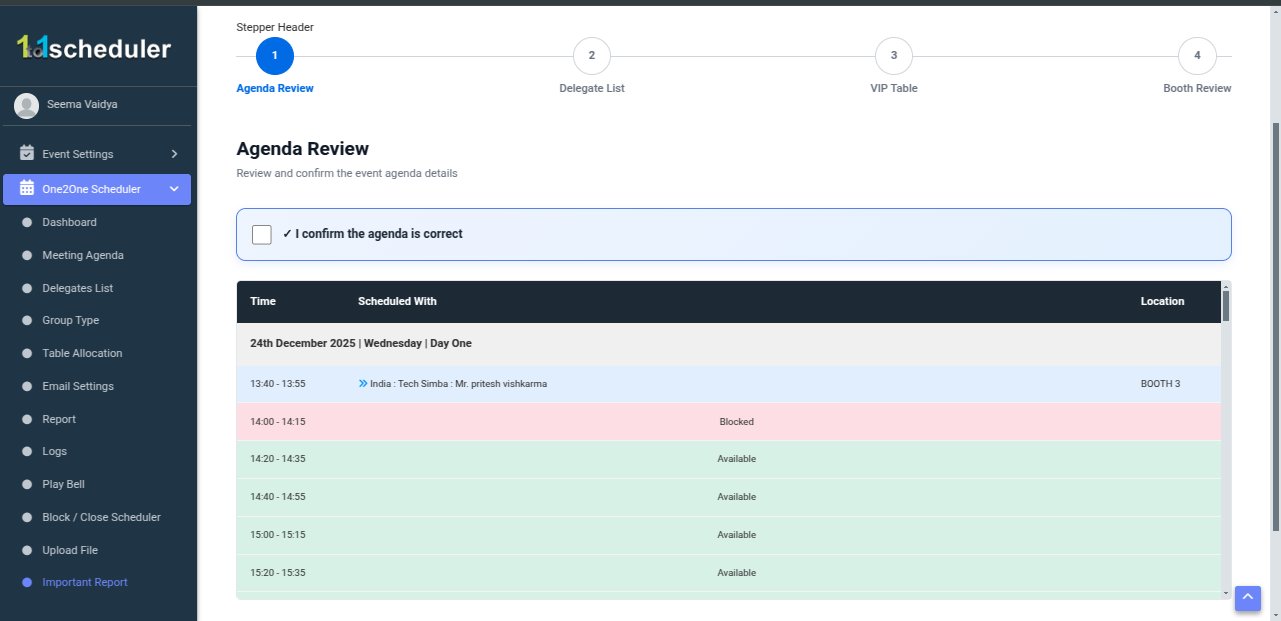
- Uploads File : Here, the client reviews details step by step, confirm each section and proceed only when everthing is correct-ensuring an accurate final setup.
- Import Report : Here, the client reviews details step by step, confirm each section and proceed only when everthing is correct-ensuring an accurate final setup.